Import a Receipt Screenshot into Expensa with iPhone Back Tap
Set up Expensa Scan Receipt in Shortcuts, assign it to iPhone Back Tap, and turn an onscreen receipt into an expense without opening the app.
Get the appThe short answer: In Expensa → Settings → Apple Pay Sync → Double tap import from screenshot, add the Expensa Scan Receipt shortcut. Then go to iPhone Settings → Accessibility → Touch → Back Tap → Double Tap and choose that shortcut. When a receipt is visible on your screen, double-tap the back of the iPhone. The shortcut takes a new screenshot, scans it and adds an expense to your selected Expensa space.
This is useful for an emailed receipt, a merchant confirmation or a receipt displayed inside another app. It does not search your Photos library for old screenshots, and it is separate from Apple Pay transaction tracking on iOS 27+.
What the shortcut does
The shared shortcut runs two actions in order: Take Screenshot → Scan Receipt Image. Expensa reads the image, extracts transaction details and saves an expense in the background. It can send a confirmation notification if you have allowed Expensa notifications.
Because the shortcut captures the whole screen, display only the receipt before running it. Hide account numbers, messages or other details you do not want included in the image. Each use counts against your plan’s receipt-scan allowance; if the allowance is exhausted, the import stops with an error.
Set it up in Expensa
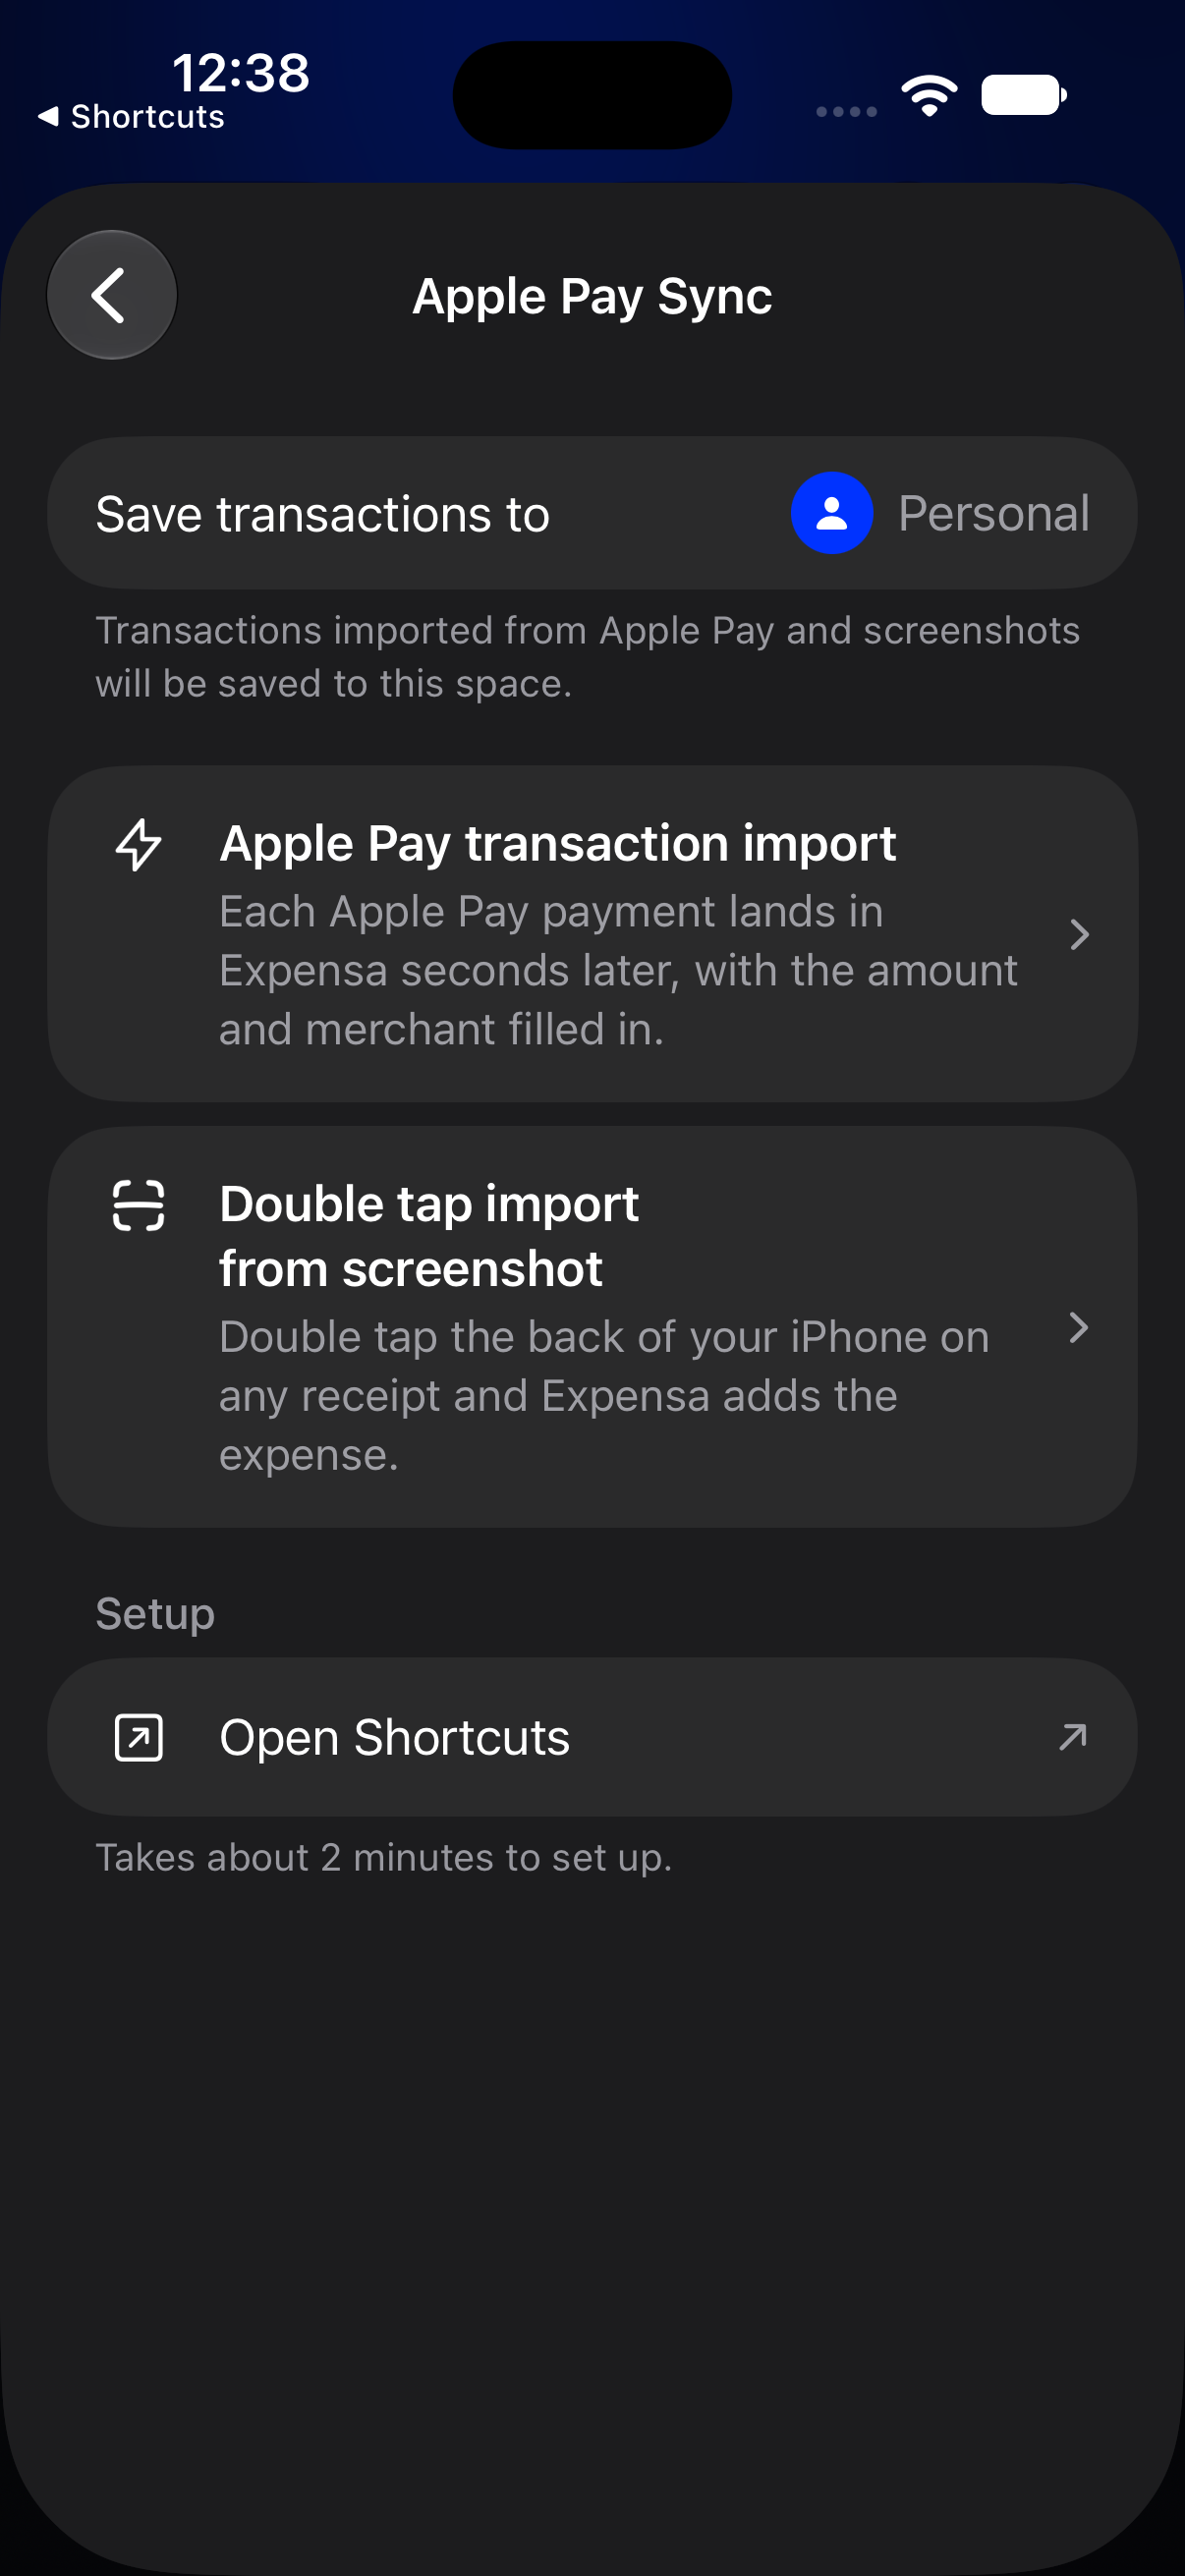
Open Expensa → Settings → Apple Pay Sync. Choose the destination under Save transactions to, then tap Double tap import from screenshot. The screenshot below is the first step of that guide on an iPhone 18 Pro simulator running iOS 27.
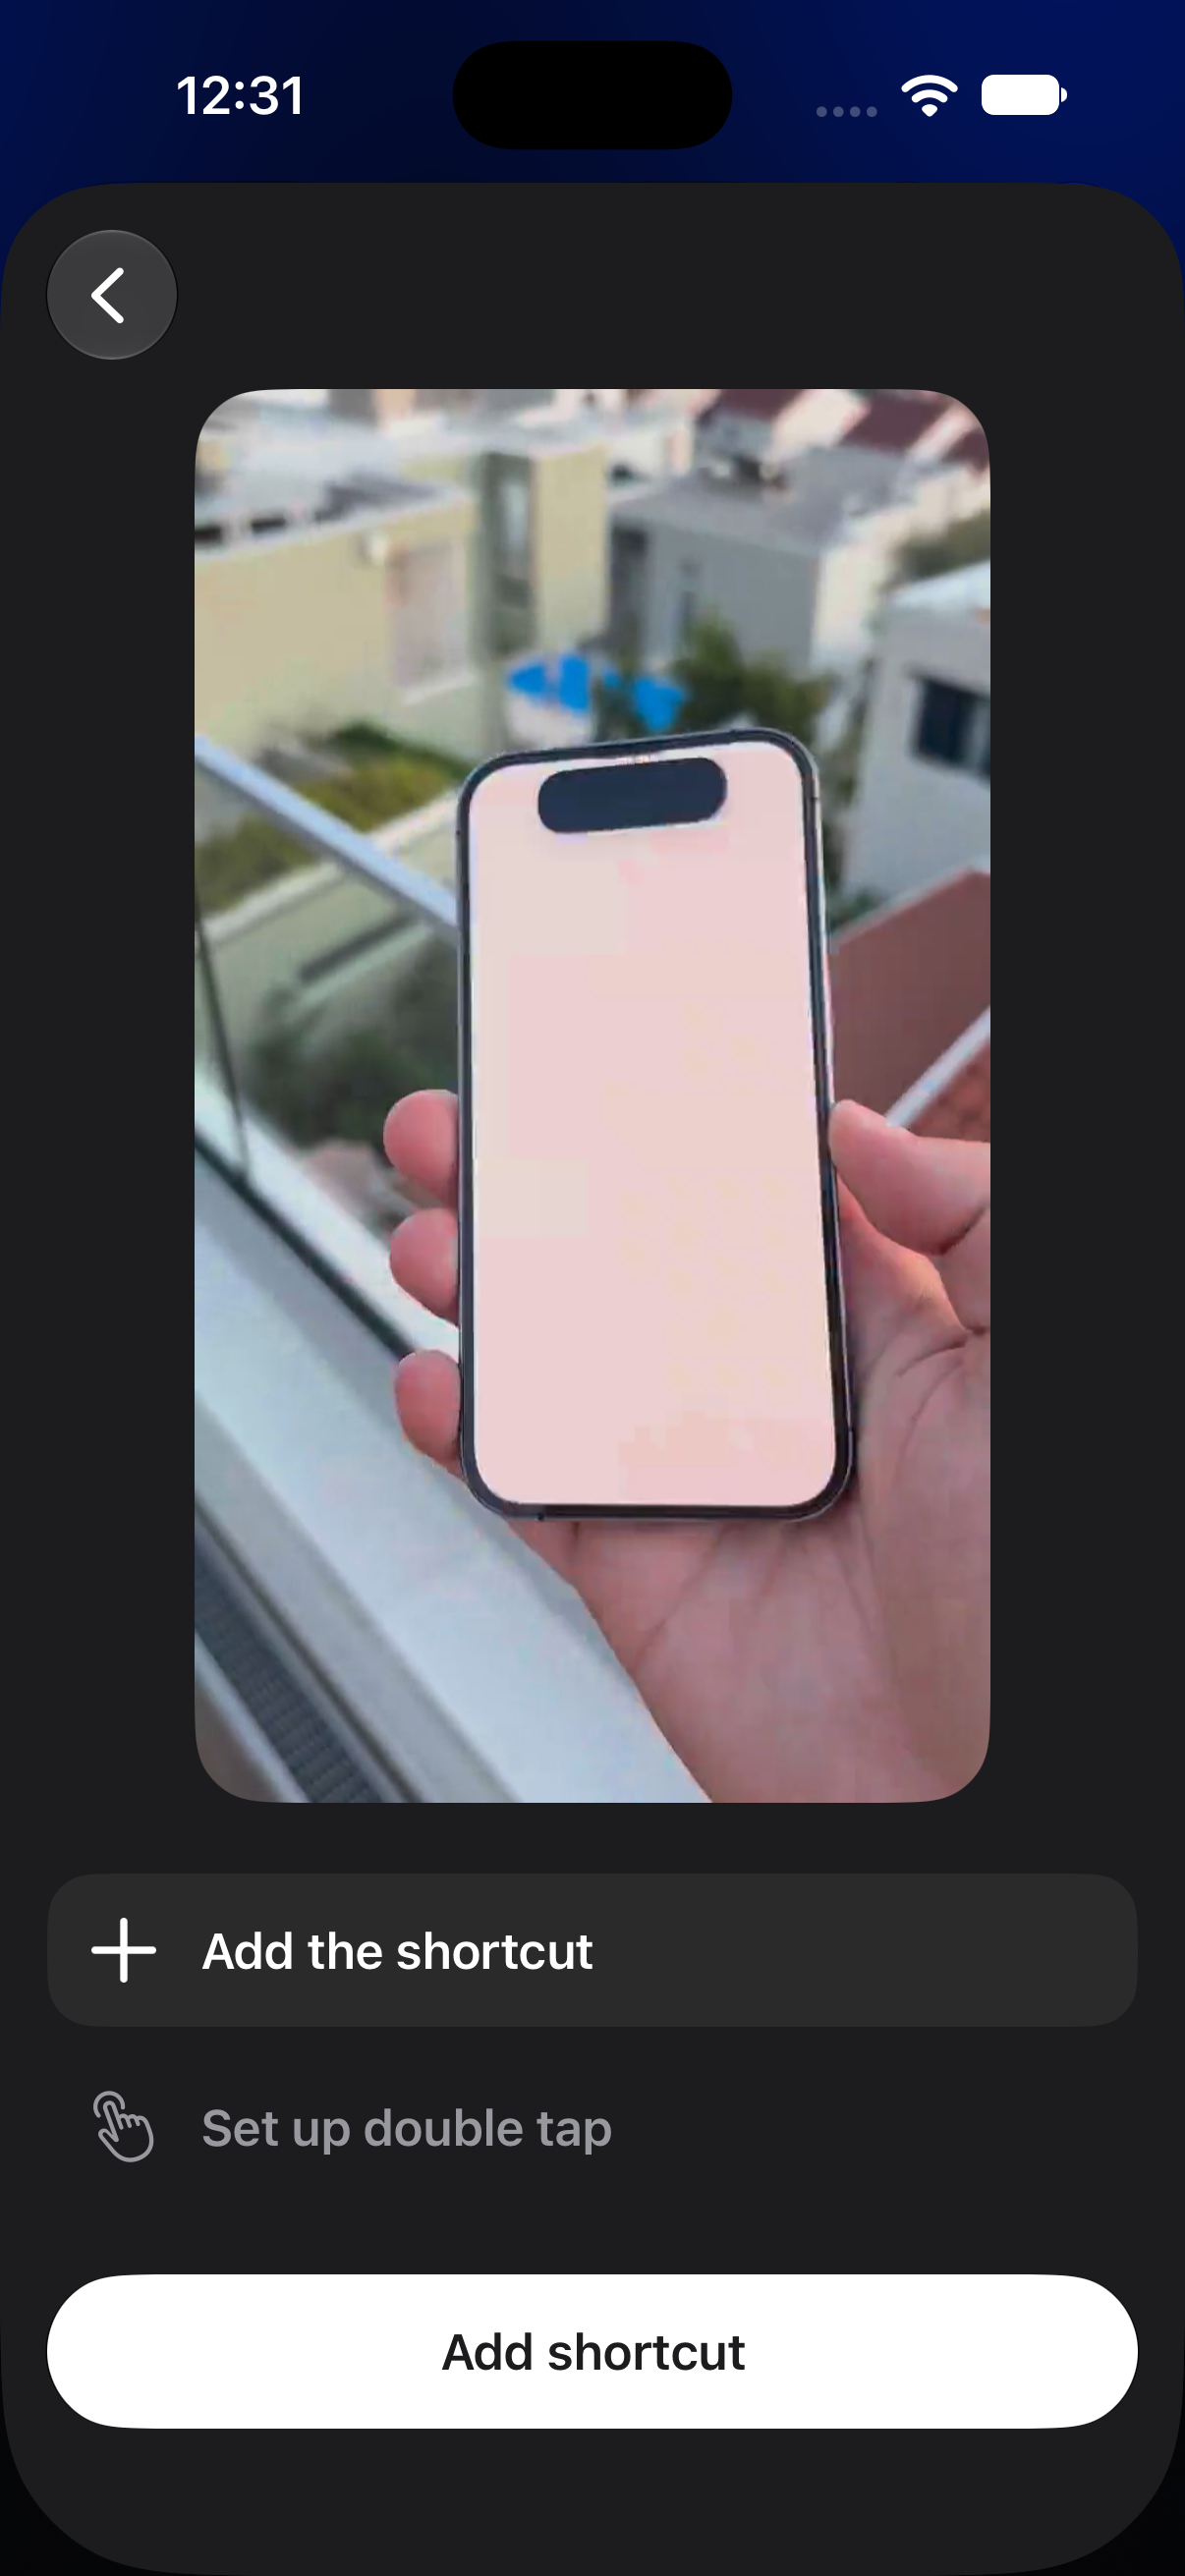
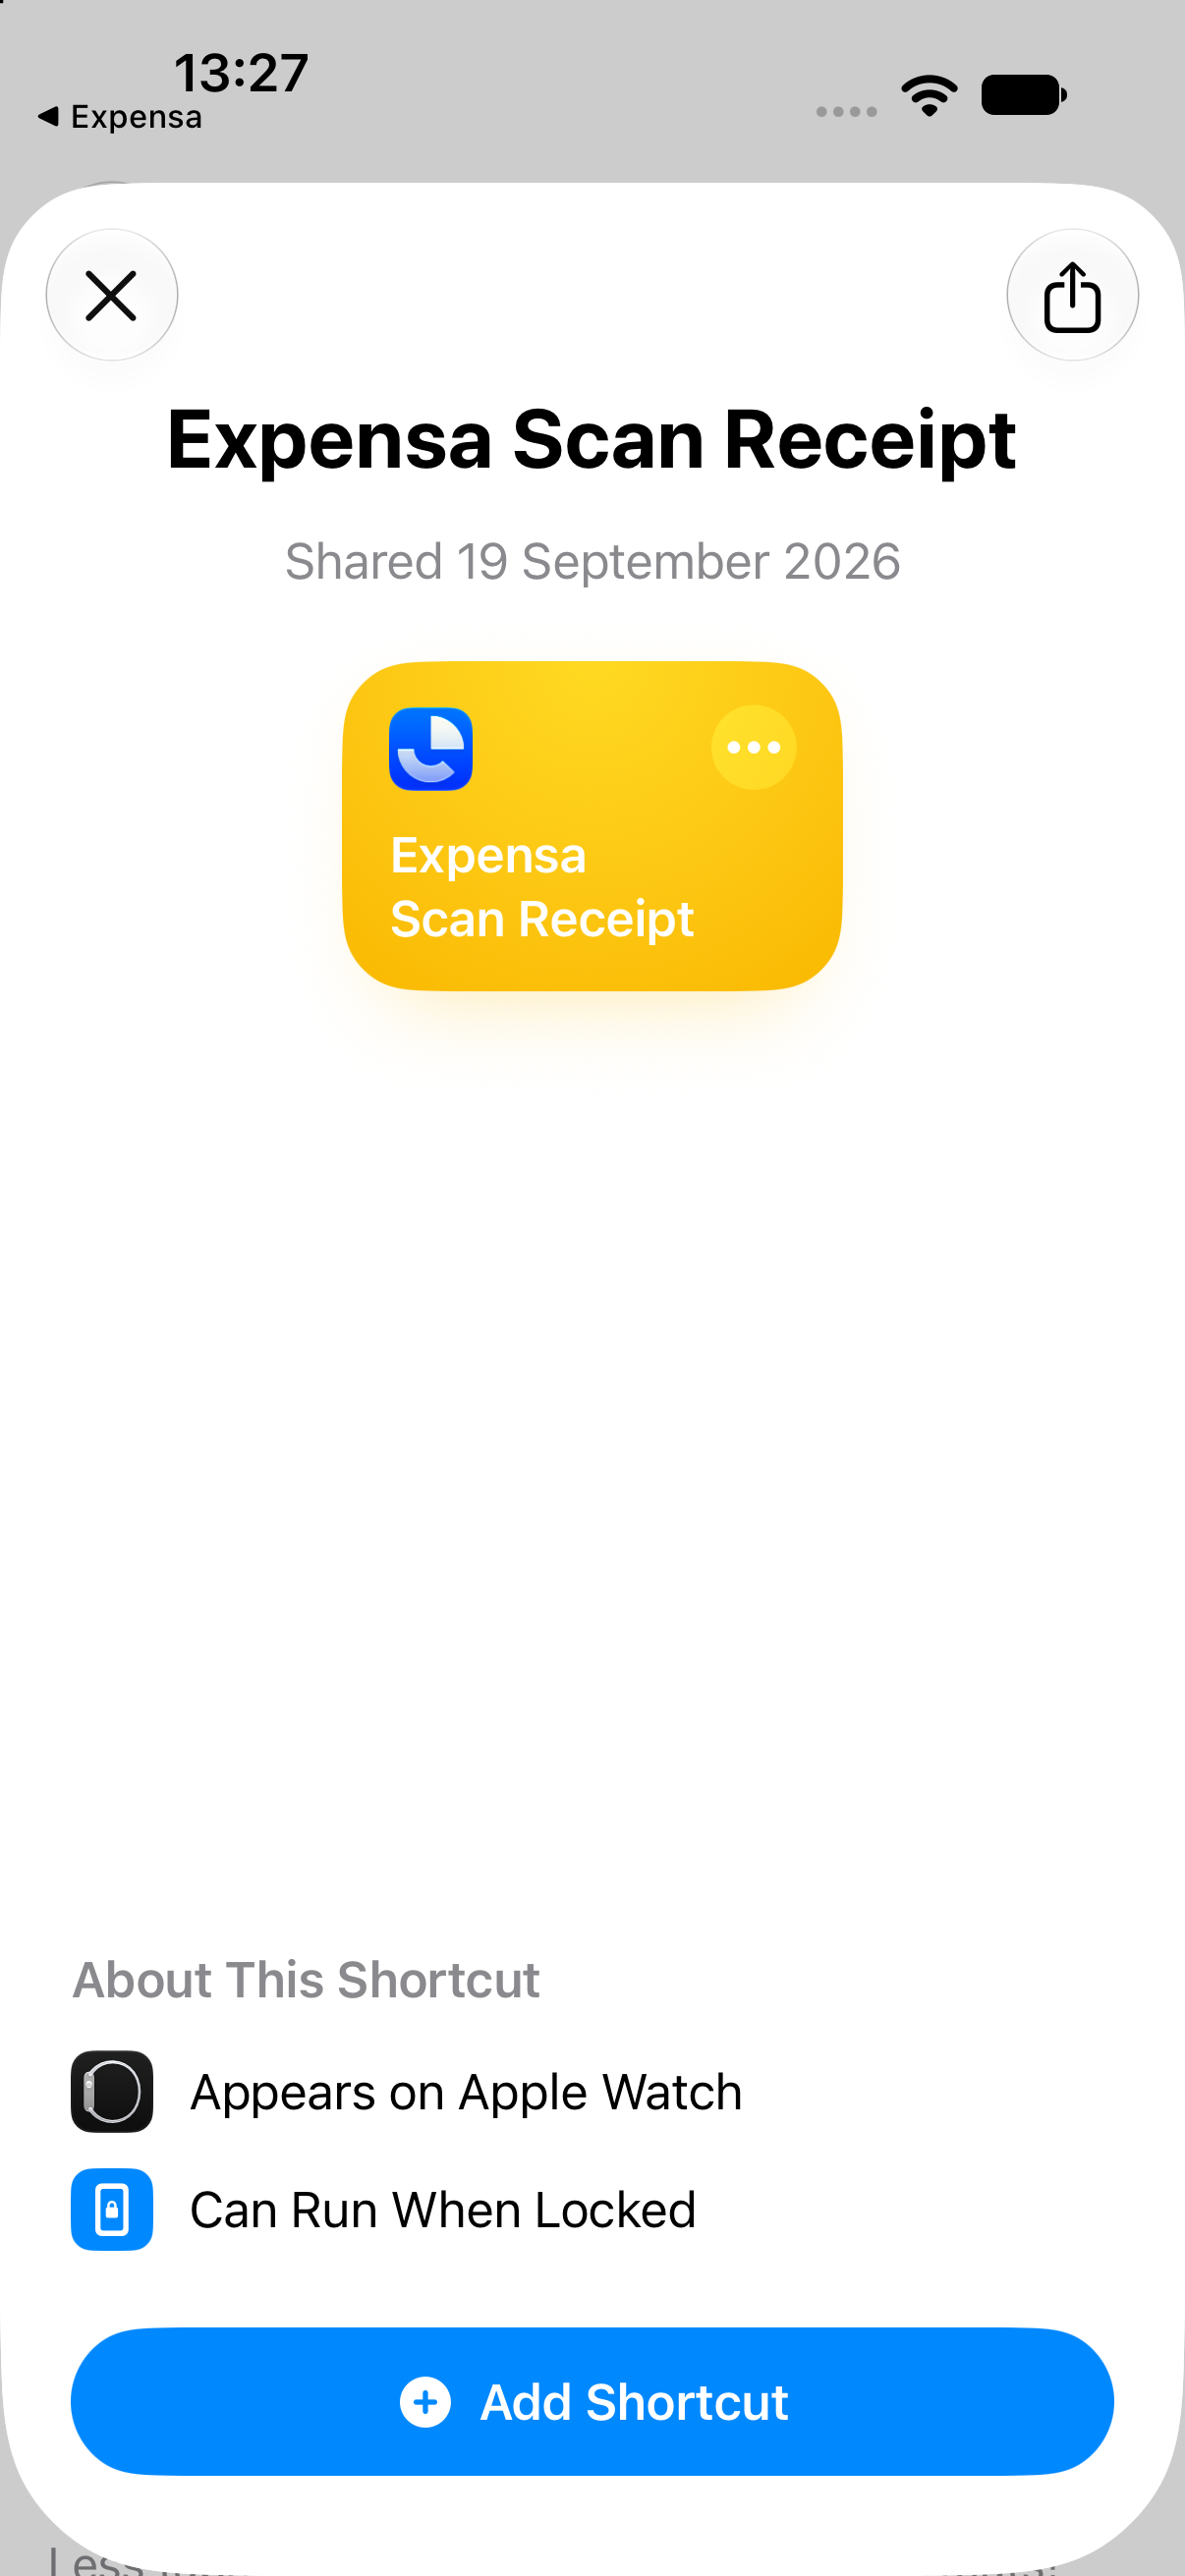
Tap Add shortcut. In Shortcuts, add Expensa Scan Receipt. If iCloud Shortcuts does not open the shared card, check that your device is signed in to Apple Account and retry from Expensa. You can also build the same two-action shortcut yourself by placing Take Screenshot immediately before Expensa’s Scan Receipt Image action.
Expensa for iPhone Track spending automatically Apple Pay capture, voice entry and budgets. Free to download on the App Store. Get the appAssign the shortcut to Back Tap
In iPhone Settings → Accessibility → Touch → Back Tap → Double Tap, scroll to Shortcuts and select Expensa Scan Receipt. Apple documents how to assign a shortcut to Back Tap. If Double Tap already runs another action, choosing this shortcut replaces that assignment; Triple Tap is an alternative.
This is the same short setup video that Expensa opens for the Back Tap step. It shows the iPhone Settings path with an English interface; pause it at any point to follow along.
The first time you run it, Shortcuts may ask permission to let the shortcut use Expensa’s action. Allow it so future taps can finish. The import runs without opening Expensa, so check the saved transaction afterward rather than assuming the amount or merchant was read perfectly.
Test it with one receipt
- Open a digital receipt so its merchant, total and date are legible. Keep unrelated private information off screen.
- Double-tap the back of the iPhone. Wait for Shortcuts to finish; if Expensa notifications are enabled, look for its new-transaction message.
- Open Expensa and check the destination space, amount, currency, merchant and date. Correct any field the scan misread. If nothing appears, open Shortcuts and run Expensa Scan Receipt directly to see whether a permission or scan-limit error appears.
A screenshot is only as good as the receipt on screen. A cropped total, multiple totals or a low-resolution image can produce the wrong expense. This guide’s product screenshot was captured in the simulator; a physical Back Tap and a real receipt import were not tested for this article.
Keep reading
View all- 5 Expense Tracker Apps for iPhone Without Bank Linking Compare Expensa, Monefy, Money Manager, Spendee and YNAB for iPhone expense tracking without a bank connection: entry, budgets, sharing and cost.
- Apple Pay in India: Supported Cards, UPI and How to Track Spending Apple Pay launched in India on 30 September 2026. See supported Axis Bank cards, UPI and RuPay limits, setup steps, and how to track spending in INR.
- Set Up Apple Pay Expense Tracking in Expensa on iOS 27 Set up Expensa Wallet Sync on iOS 27 or later: add the shared shortcut, approve its actions, and enable the Wallet notification automation.
- Monarch Money vs Rocket Money: Budgeting, Subscriptions and Cost Compare Monarch Money and Rocket Money in 2026 by budget tools, subscription help and cost. See where Expensa fits if you don't want a bank connection.
- Best Free Expense Tracker Apps for iPhone: Features and Limits Compare Dime, Monefy, Spendee, Wallet and Expensa by what stays free: entry, budgets, account limits, Apple Pay tracking and export.
- How to track expenses in Pakistan on iPhone when nothing syncs with your bank? No Apple Pay, no bank sync, money split across cash, JazzCash and a bank card. A setup that tracks it all in rupees in a few minutes a week.
Stop tracking.
Start knowing.
Capture eligible Apple Pay purchases after setup, add expenses by voice and see what remains in your budget.
Download for iPhone